3-slippin’ on my sigillata
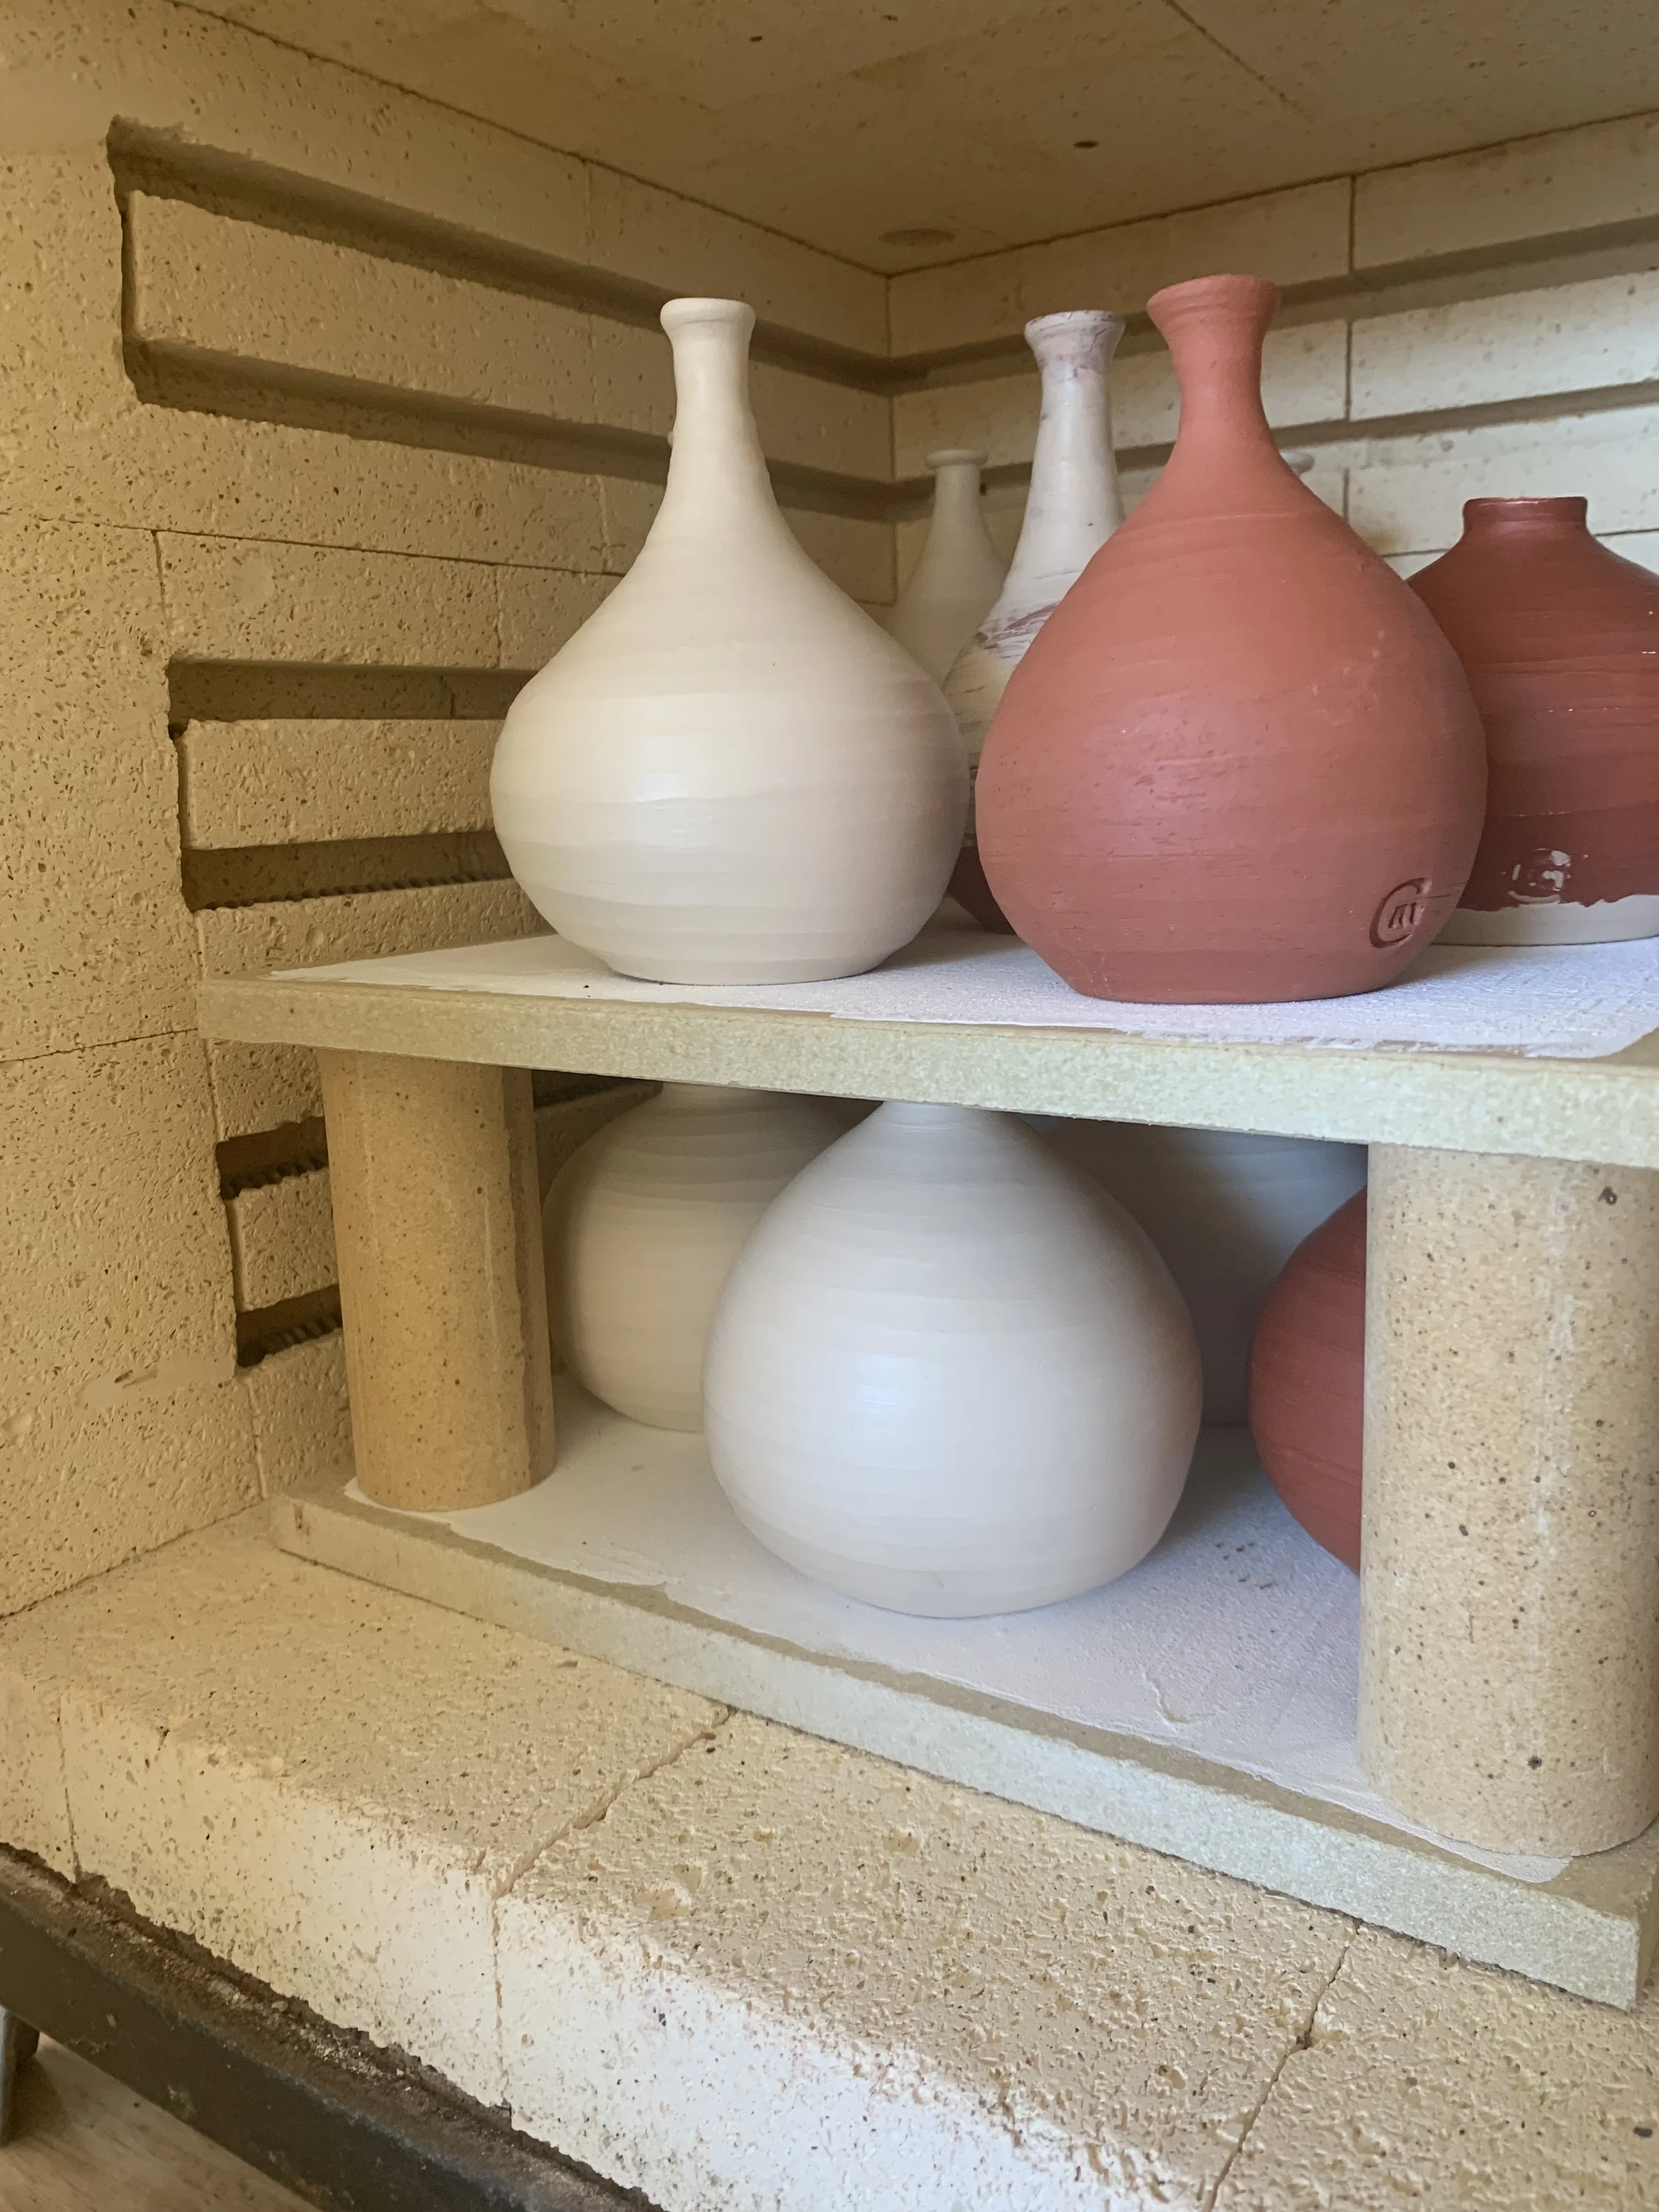
Preparing the surface of my little test vases ready to put into the saggar was my next step and I wanted to record the different effects from this firing on an natural unprepared clay surface compared to those that had a prepared ‘shine’.
The shine you can achieve on a clay surface without applying a gloss ‘glaze’ fascinates me – the technique is as old as the craft of pottery itself. A lot of beautiful woodfired or saggar fired work has a beautiful satin sheen to it - and sometimes even a highly polished gloss that seems to both absorb and radiate the smoke and stained effects obtained with this sort of firing. The clay itself is literally the glaze and it is these works that have me drooling over my keyboard.
As you know I love the natural finishes and textures the clay itself provides, so this sort of finishing really appeals to me. You may have seen some of my work where I have burnished my piece with a river stone while it is at a ‘leather hard’ stage. I haven’t managed to maintain the shine throughout the firing processes though – like this little piece which I ended up finishing with a very quick dip in clear gloss glaze to bring out the extremely smooth polished surface I had achieved on layers of different earthenware clays before it was bisqued.
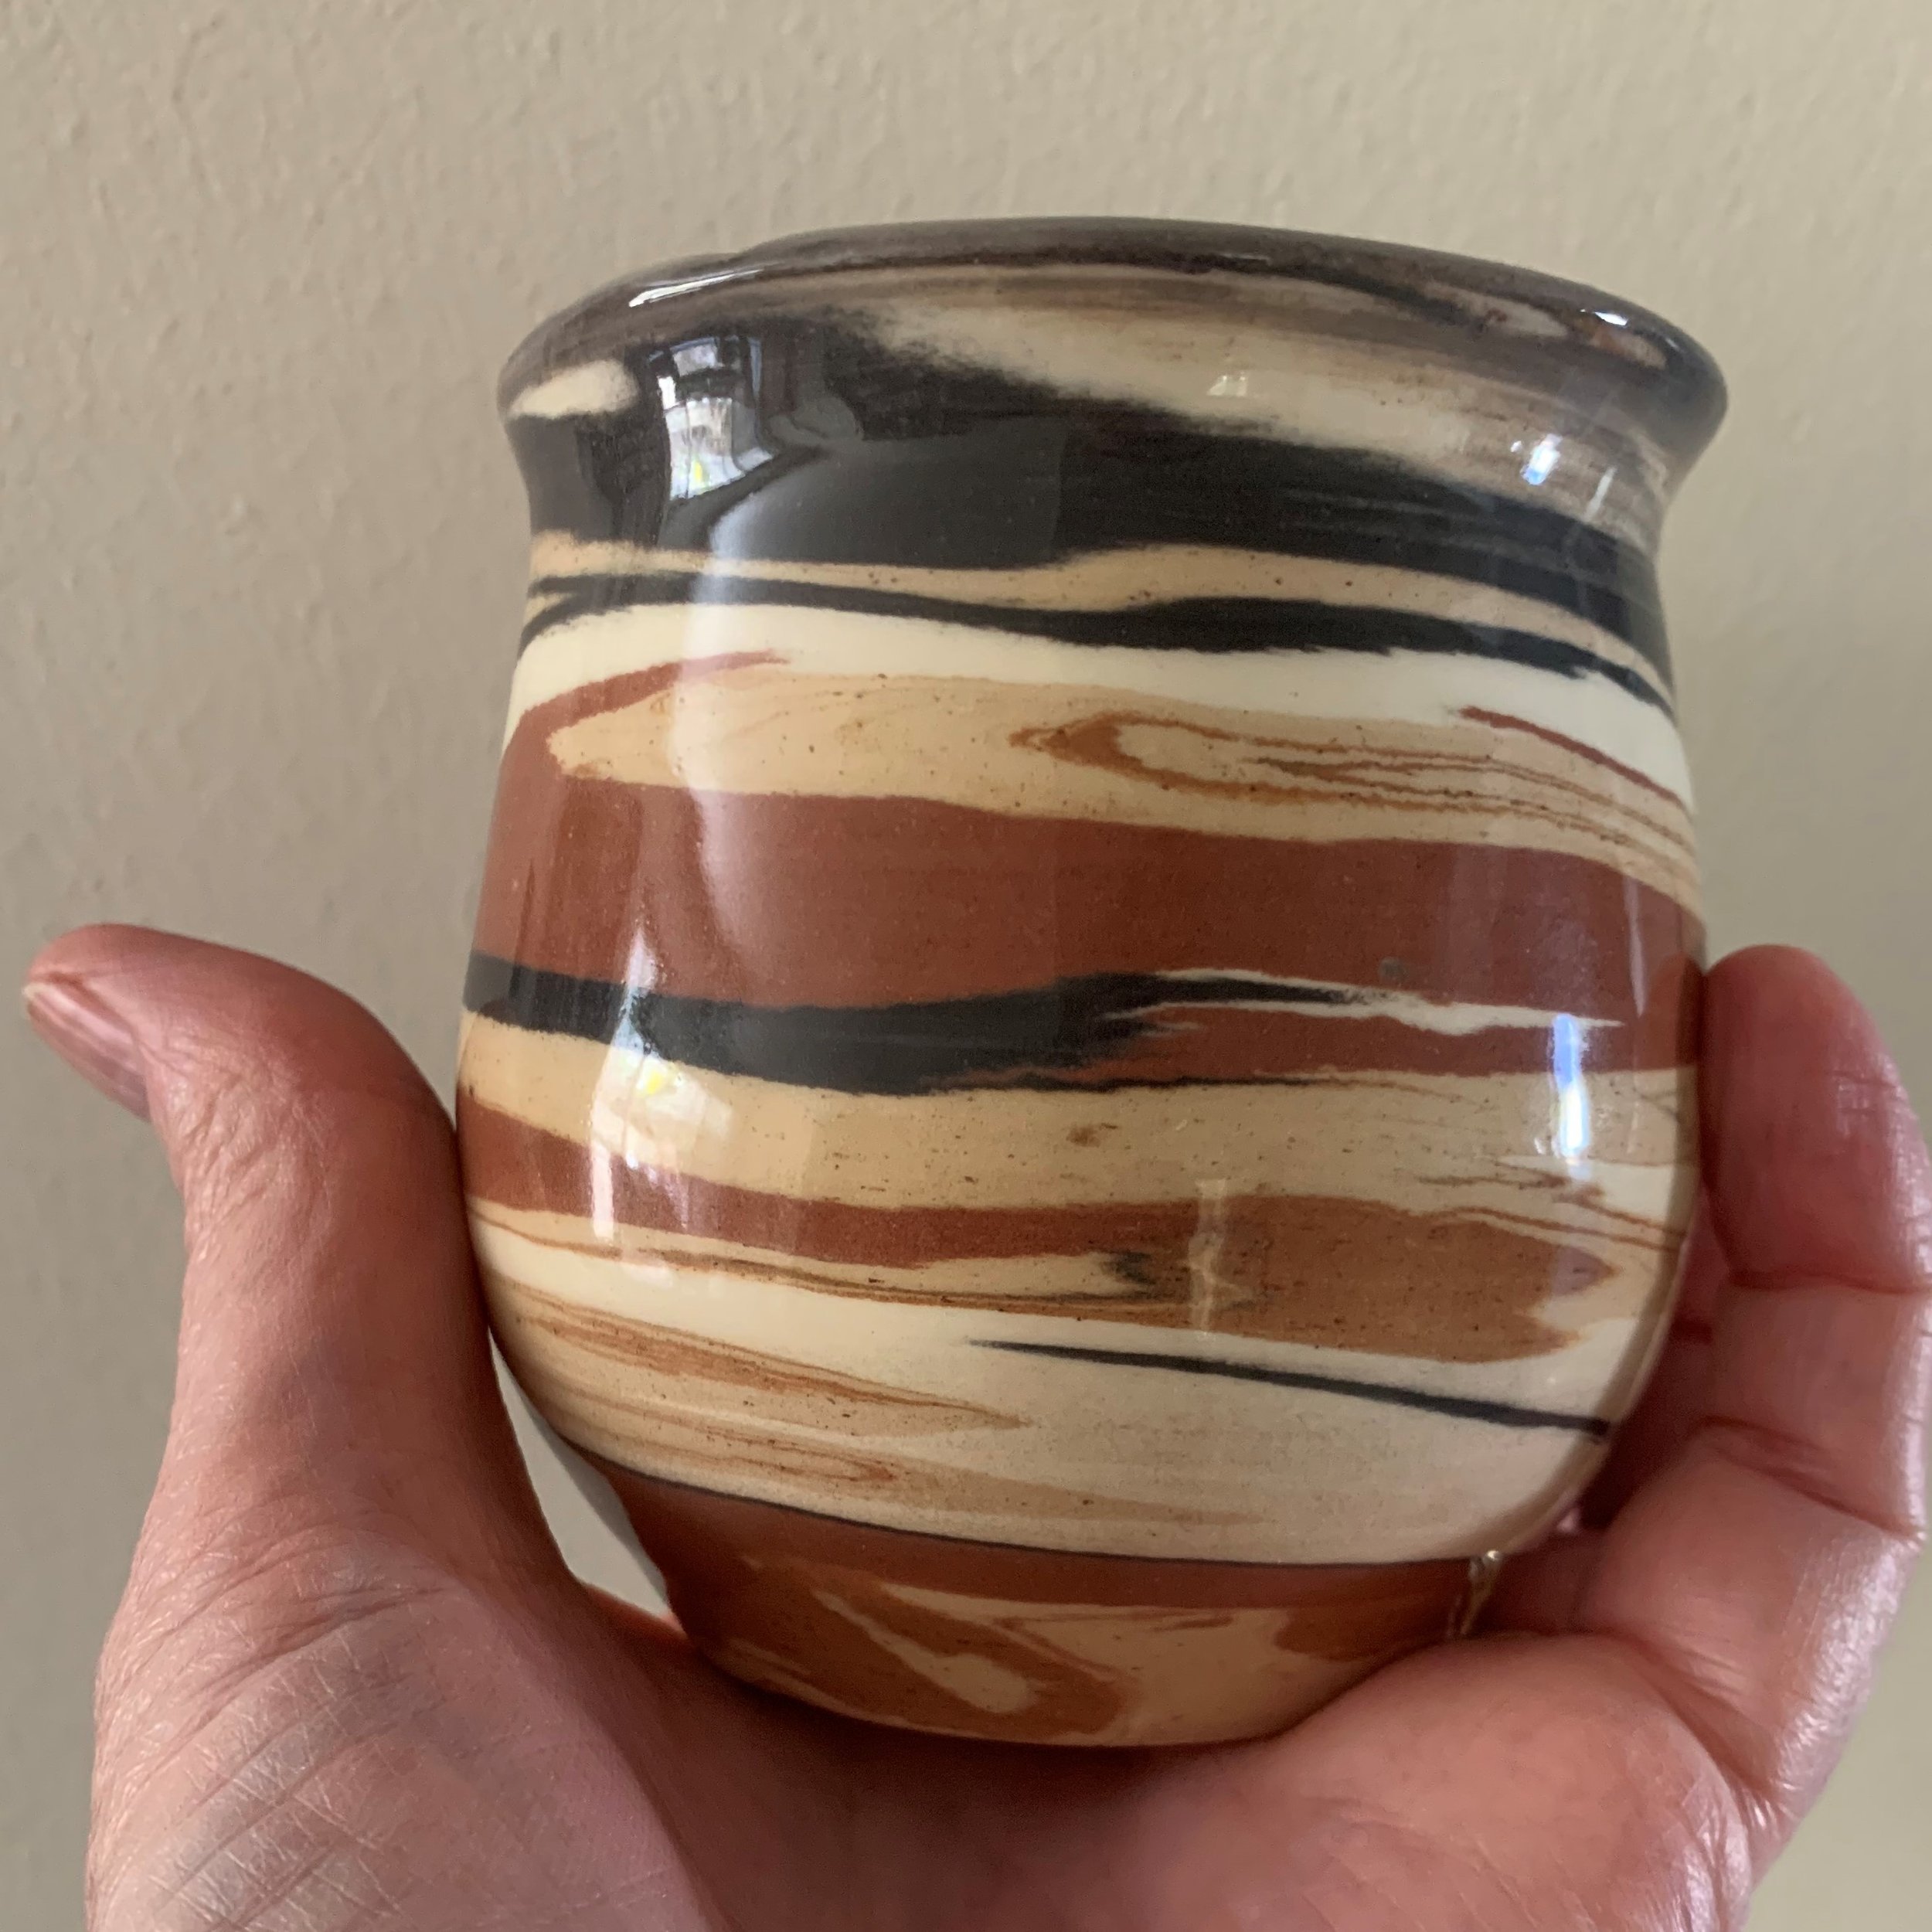
Which of course had me asking - ‘why it didn’t work?’ – I spent hours (well at least one!) burnishing this little cup with a smooth river stone – it was so shiny before the bisque fire – and when it came out from the bisque, it was quite dull and matt. I mean, artisans have been doing this for centuries. Well-preserved shiny burnished pots are being dug out of ancient Egyptian archaeological sites dated back to 3000 BC!
The science behind how to make my ‘shine’ stay was the next internet rabbit hole I went down, deeper and down, before delving into the slippery, mysterious, velvet world of terra sigillata.
The term terra sigillata means ‘sealed earth’.
Sumi von Dassow has defined terra sigillata as ‘an ultrarefined clay slip that can give a soft sheen when applied to bone-dry wares and, if polished or burnished while still damp, may give a high gloss. The ancient Greeks and Romans used this technique in lieu of glaze’. You can read further about the detail on terra sigillatta in Sumi’s full article: Terra Sigillata 101: How to Make, Apply, and Troubleshoot Terra Sig, published Jan 24, 2024 on Ceramics Art Network here.
This seems to be an answer to my lack of shine quandry …. So, the next step of my saggar journey I needed to make some terra sigillata.
Now, you may find this surprising - there are more recipes and experts for making terra sigillata on the internet than for scones. But like scones, they are all basically the same!
It is made by mixing a suitable clay with water and a ‘deflocculant’ (be careful how you pronounce that!) and leaving it to stand until the heavier particles of clay settle out. The recipe I used was shared by Julie Crosby in the June/July/August 2020 issue of Ceramics Monthly, which I converted to metric measures. I then made this recipe up in the community studio I am part of - also making extra for the others to share.
Ingredients
Ball Clay - 950 g
Water - 2 litres
Sodium Silicate - 5 grams (I used Soda Ash as we did not have any soduim silicate in the Studio)
Wearing a mask, I added the soda ash to the water first, then added the ball clay and mixed. This mixture settled for 24 hours. When I came back the following day, the large particles had settled to the bottom into a thick slip slurry and a thin layer of water was on the top, the sigillata was clearly the middle layer.

I then siphoned out this middle layer. It had a beautiful thin, milk-like consistency and felt very silky to touch and left a satin sheen over my fingers. I think I have either succeeded in making a beautiful terra sigillata - or if all else fails, I have probably made the next best trend in luxury skin care and will make a fortune - just add some zinc to it and it will also provide sun protection!
Now to apply it to my test vases.
I learnt a lot about the application of terra sigillata by following the guidance Sumi von Dassow provides in the article referenced at the beginning of this chapter. I brushed on three coats to my bone-dry test vases without allowing to dry completely between the coats.
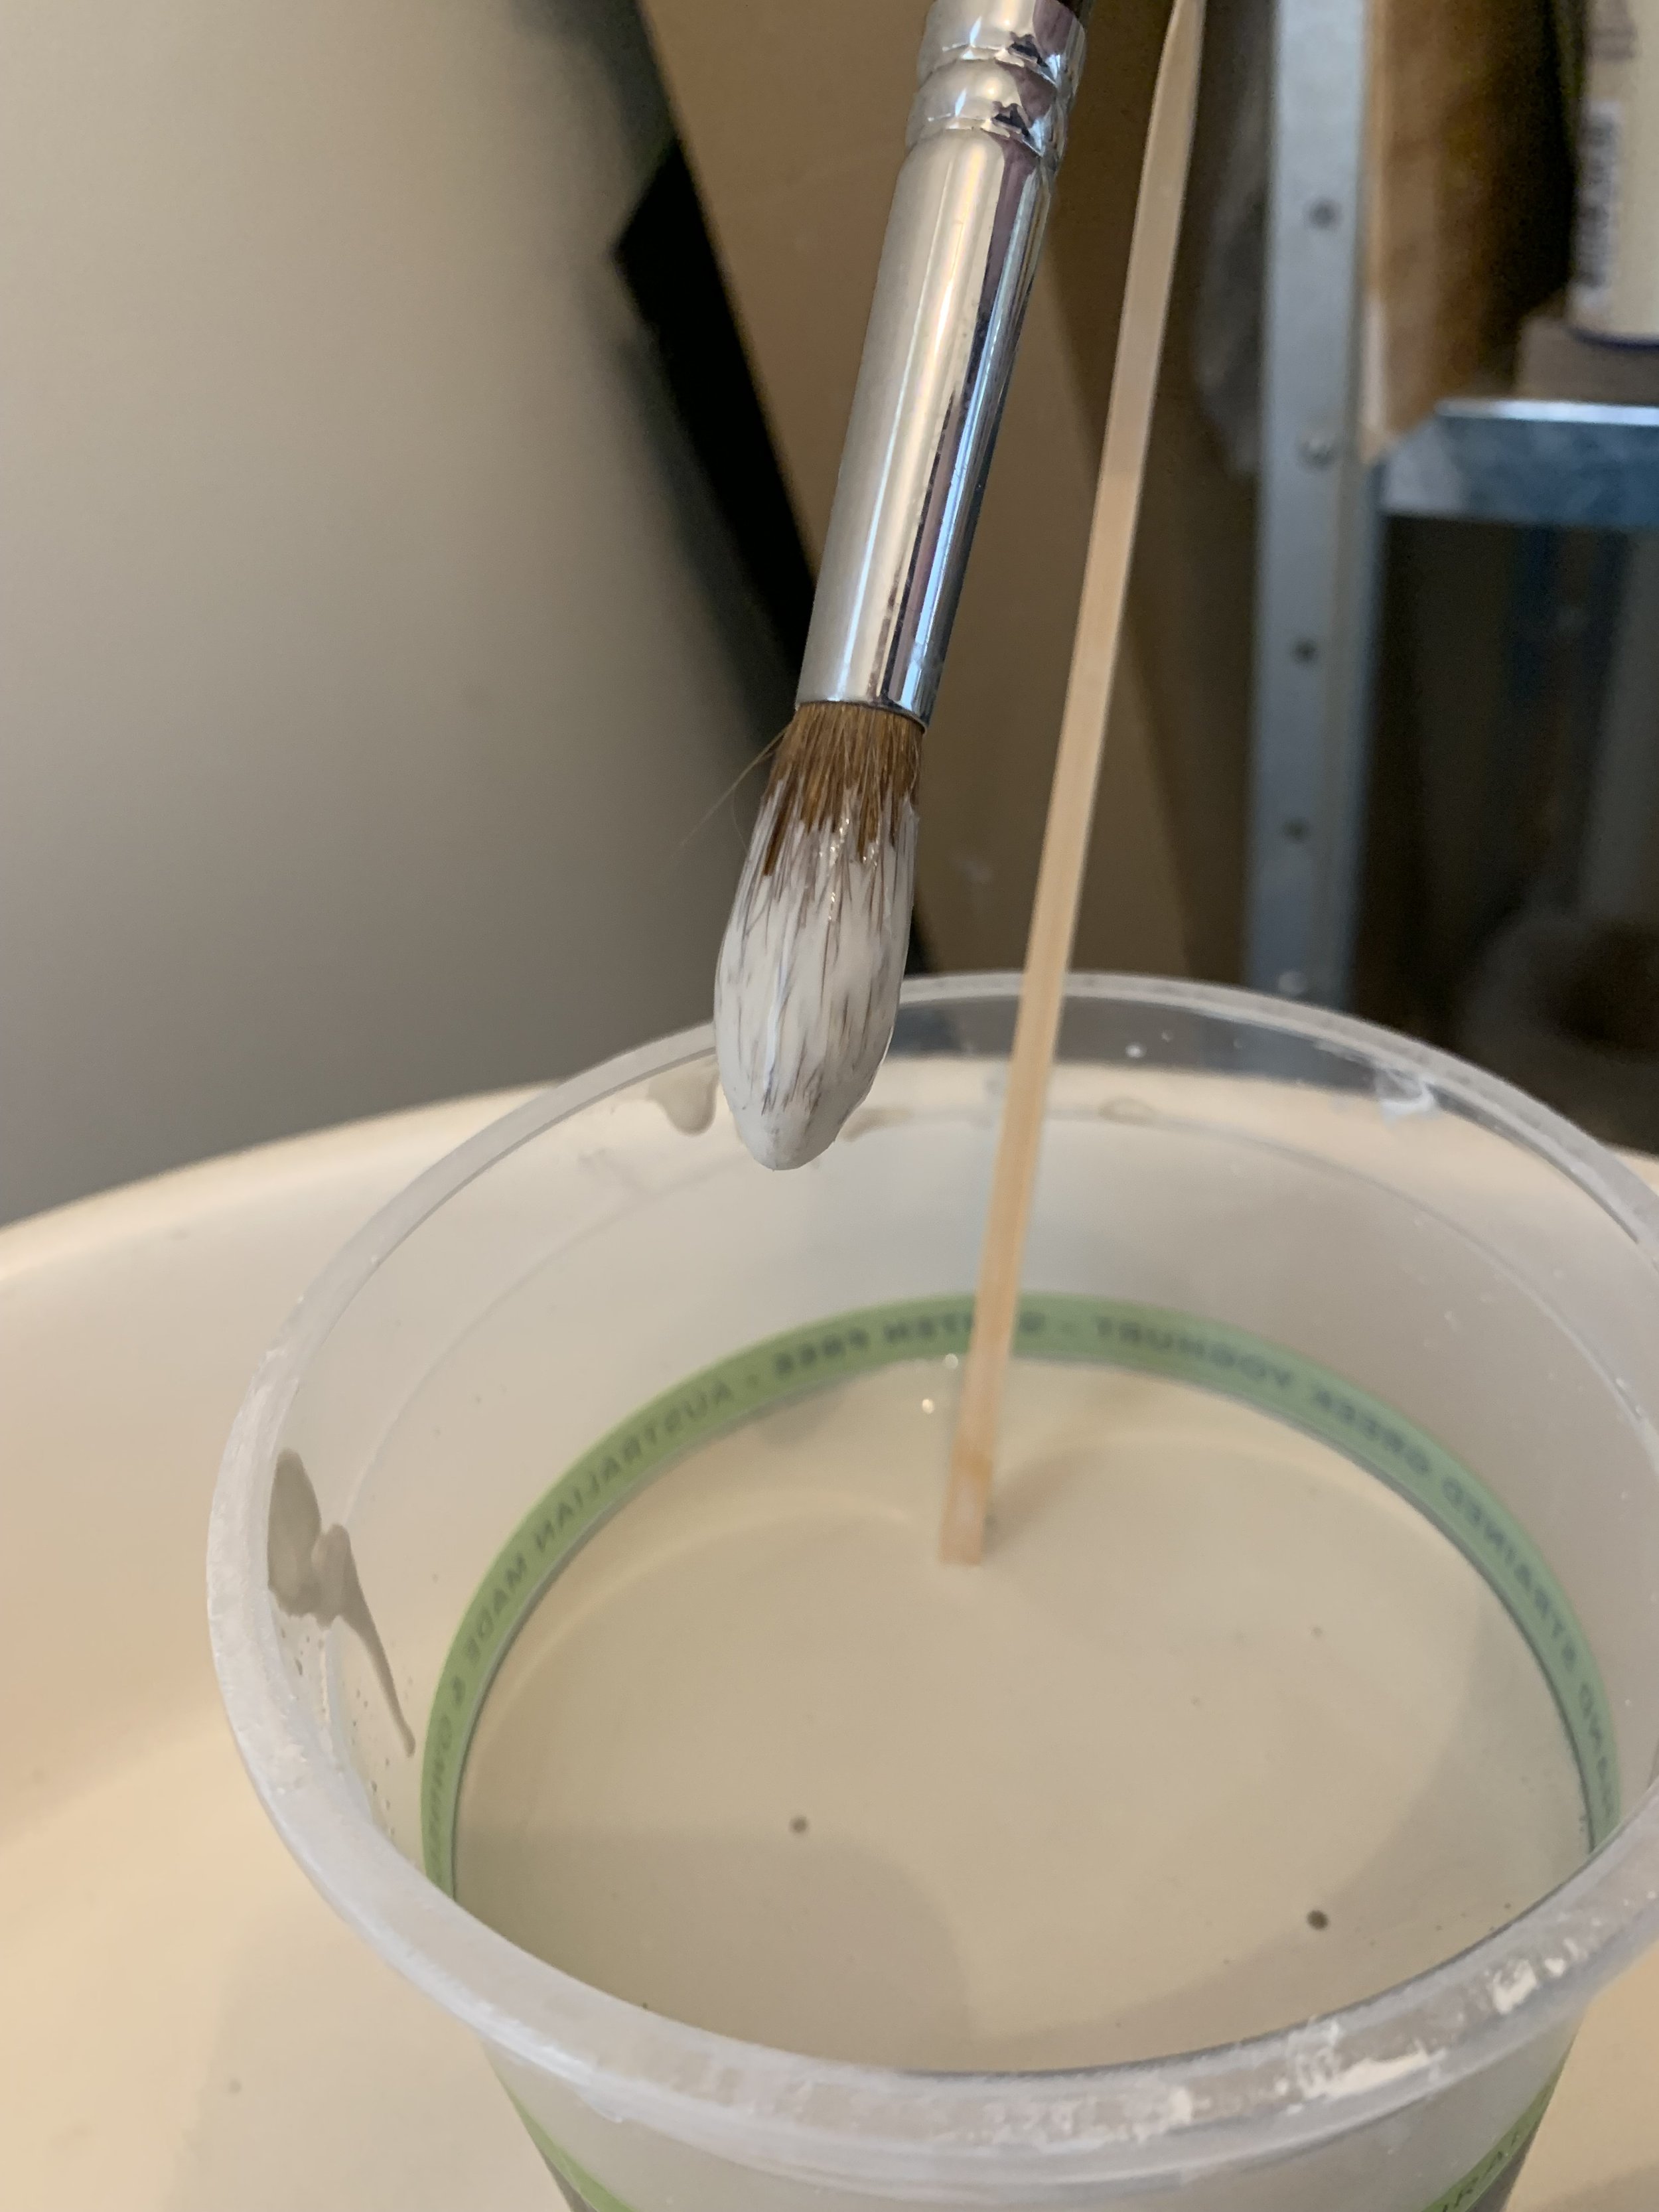

Sumi also advises not to let it drip down your pot, because the drips will show; and don’t allow your brush to lose hairs, as the hairs will make a permanent mark. So I used one of my very soft sable hair water colour mop brushes to apply it - Luxury!
After the third coat I waited until the surface didn’t look wet any more - sort of a waxy grey colour and with a window cleaning polishing cloth, I buffed before it dried completely.
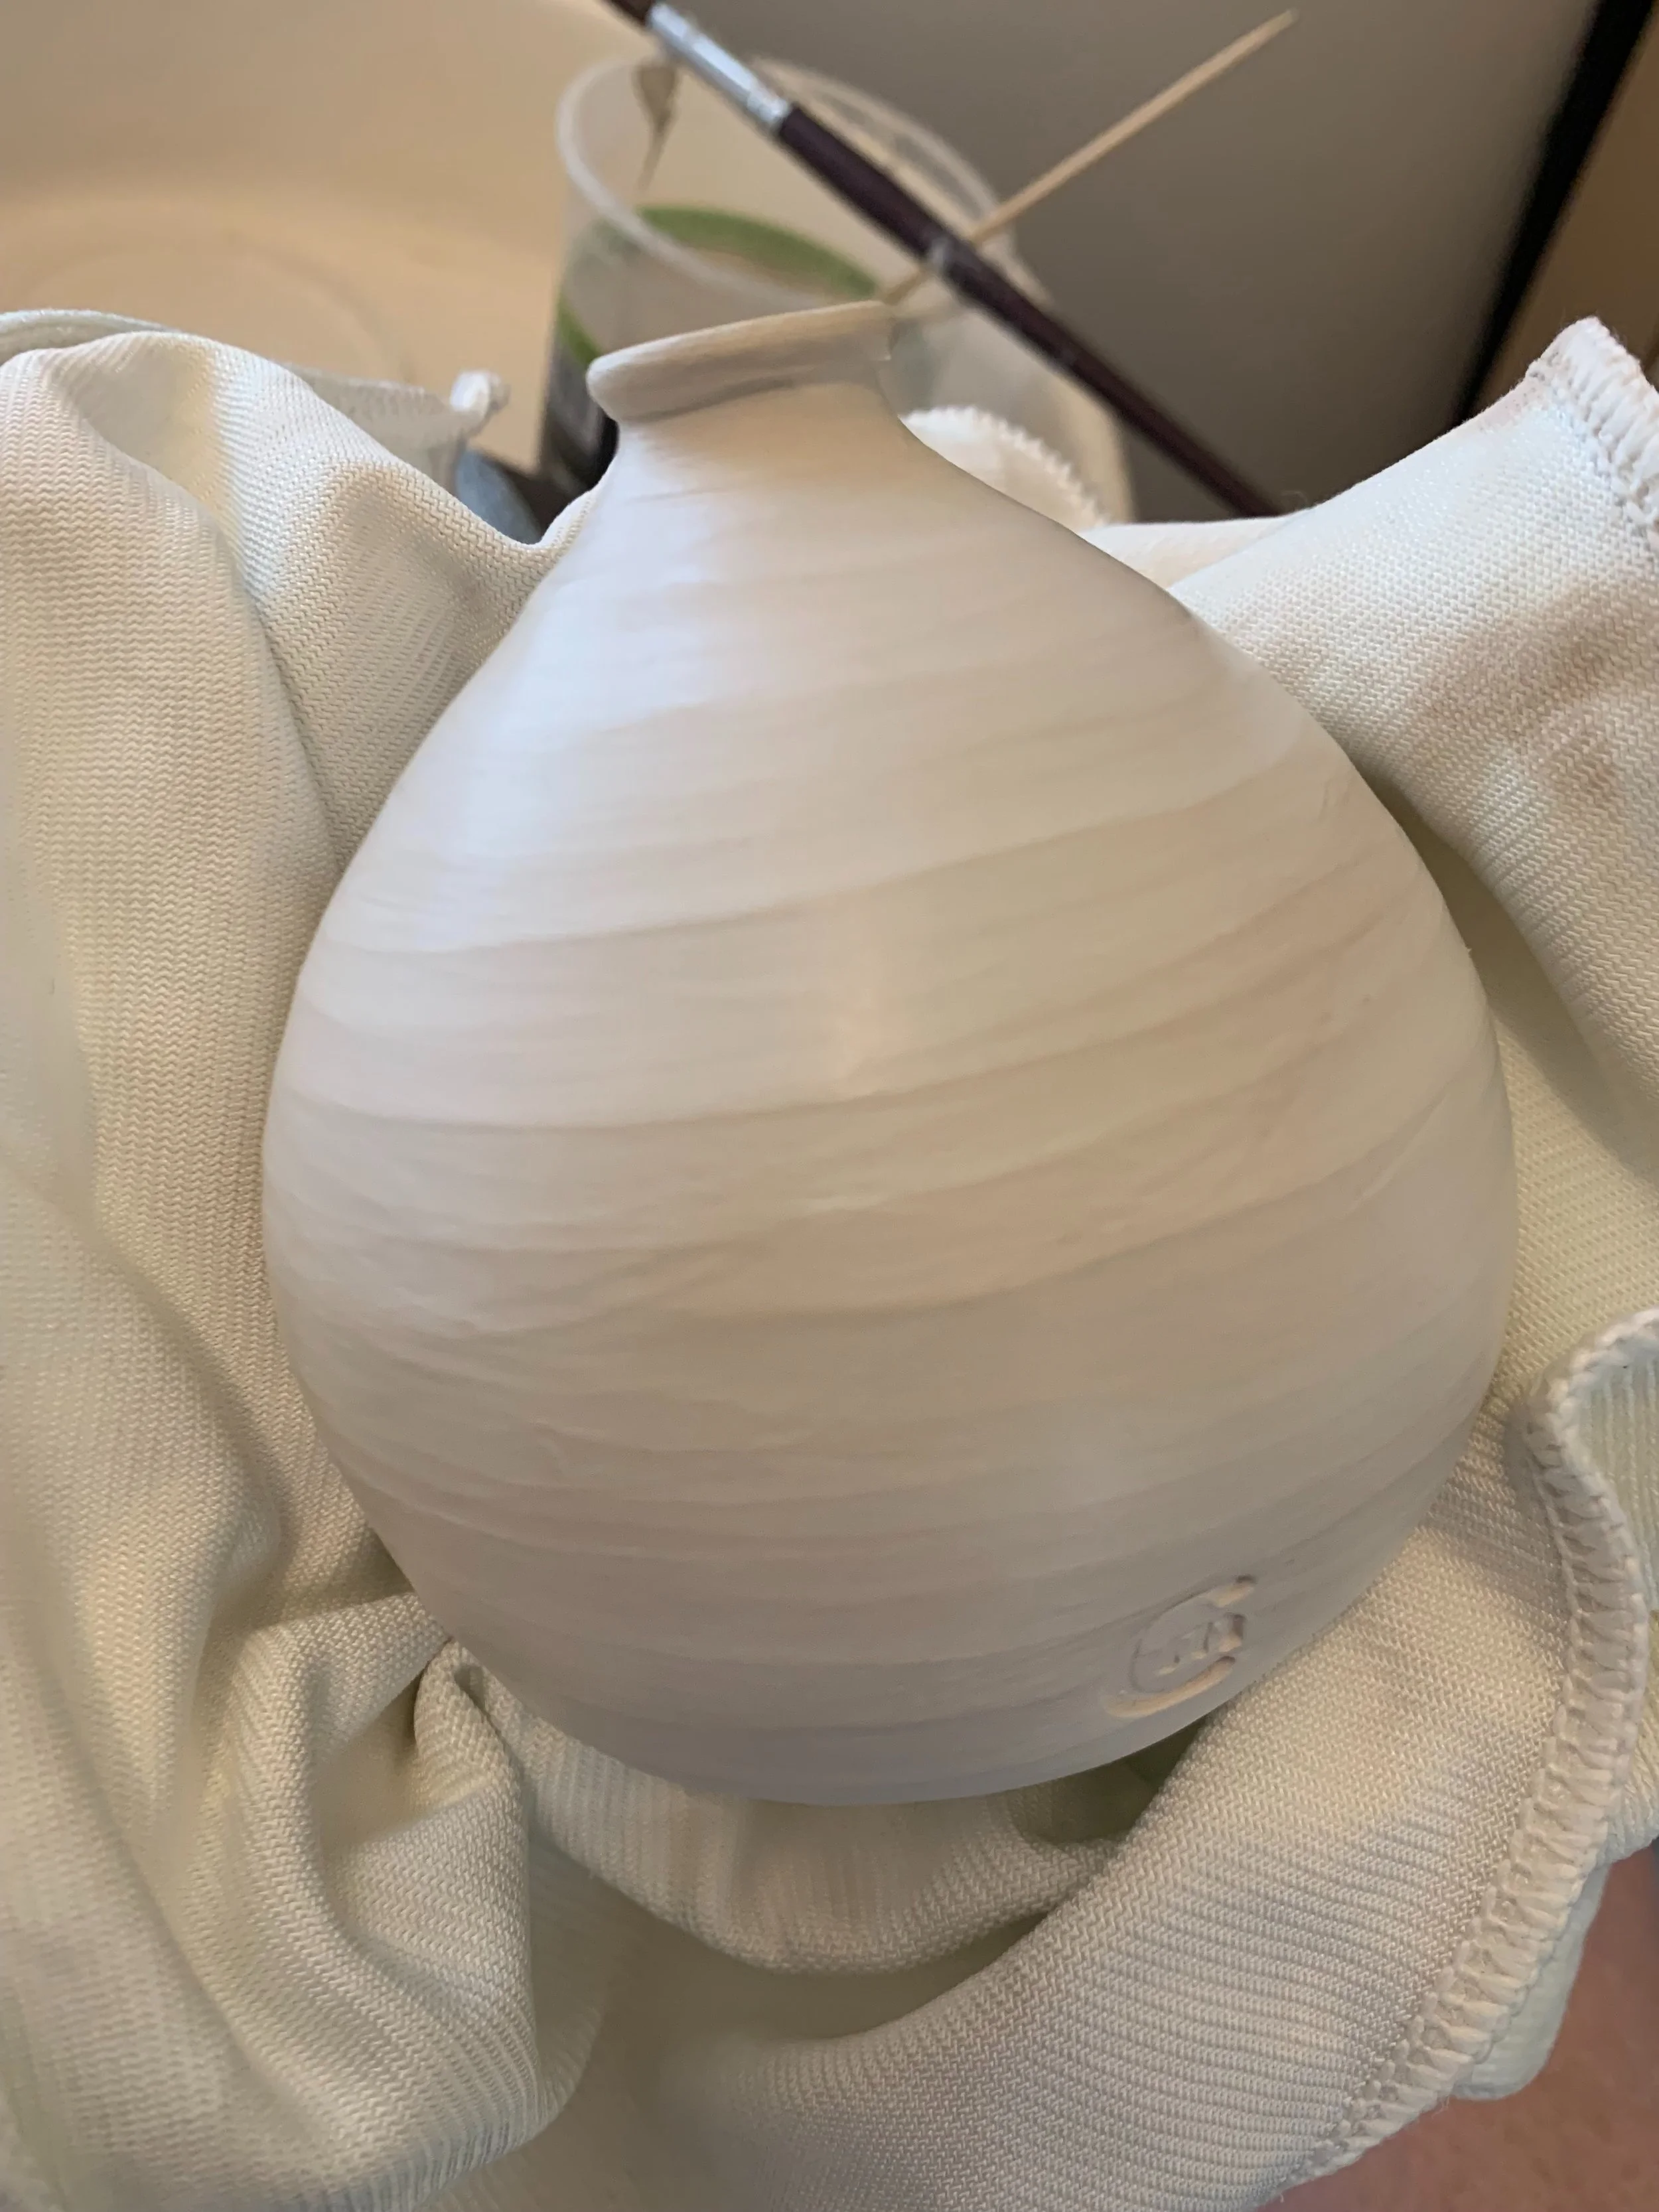
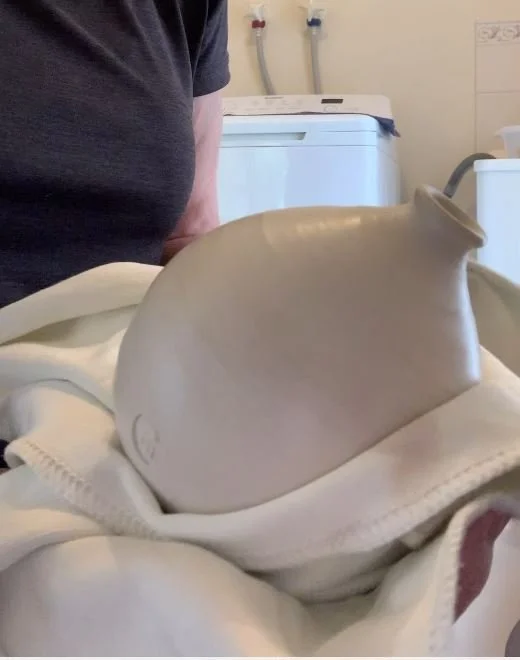
I applied terra sigillata to ten of my test vases and left six ‘raw’ and naked and then into a low bisque fire they went - taken to cone 012 (900 degrees C) to ‘toughen them up’ and drive off the most of the ‘internal water’ in the clay.
So the test vases are now prepared - patiently waiting in eagerness to be dressed in finery and their boudoirs to be prepared … but that is for next time in our saggar in the city journey.