2-saga of my saggar
So - let’s get on with it.
We learnt the ‘official’ dictionary definition of a saggar in ‘entree into the fire’. Here is a more practical explanation by Marcia Selsor in an article published in the Sept/Oct 2020 issue of Pottery Making Illustrated, which can be found here on the Ceramic Arts Network if you were interested in reading further:
“Saggar firing is the method of creating confined atmospheres in a kiln within a container or saggar. Depending on the type of firing, the saggar can be made out of anything from the traditional refractory clay to newspaper. Originally, saggars were used to protect finishes from the debris flying around the firing chamber from the burning wood or coal fuel source.”
So that is what a saggar is and what it is used for …. now what of my saggar? What will I use?
After scouring the internet and looking at some beautiful pieces and effects achieved mainly from using clay saggars in fire pits …… dug out by young muscled men in shirtless overalls, dreadlocks, indie tattoos and hand knitted beanies in the middle of the misty Blue Mountains awash with autumn colour in early morn dew ...
…
some claimed their masterpieces were done in an electric kiln – but they seemed to be a ‘one off’ piece and there was not much information showing ‘how’, or indeed if their kilns (or home electrical circuits or pets) were alive to tell the tale. So, I think some of the objectives of my saggar choice need to be about protecting my kiln as much as my work. Which still brings me back to my one of my first musings - can this be done in a electric kiln at all and achieve similar results to open fires and can it be done more than once?
And then I came across this book.
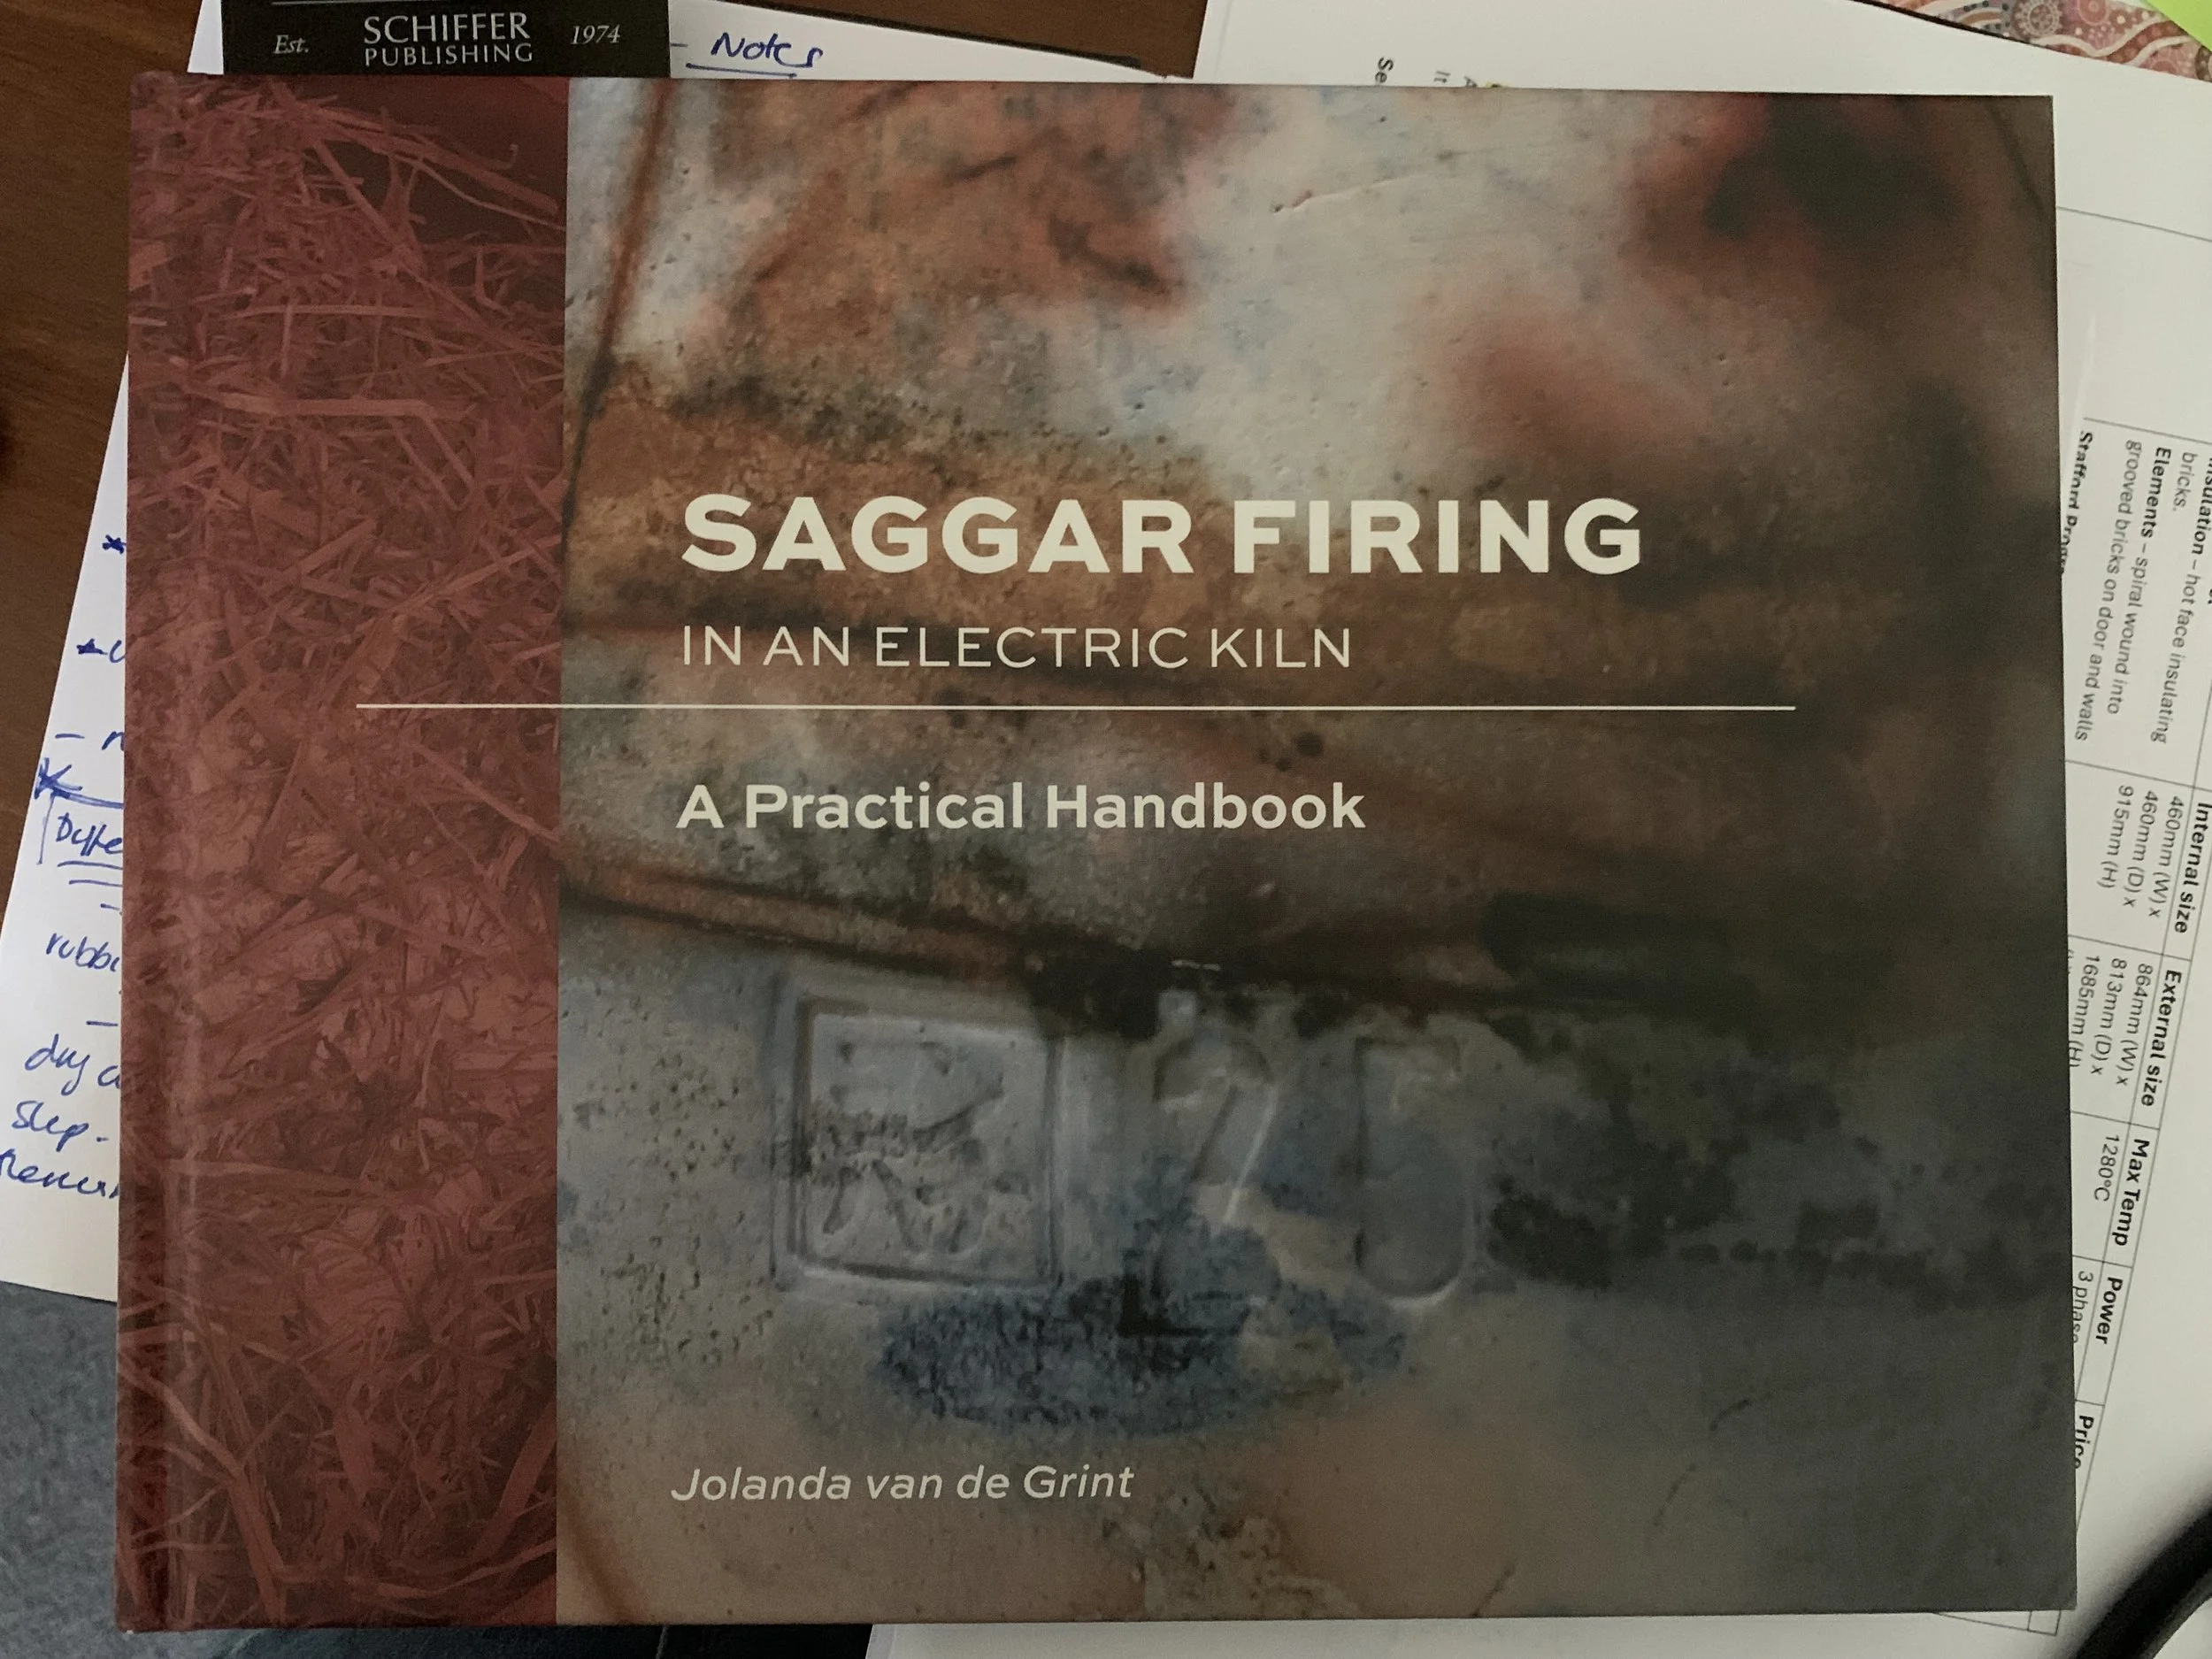
Written in 2021 by Jolanda van de Grint who was asking all the same questions as I was on the other side of the world in the Netherlands.
Natually I bought it and when it landed on my doorstep in its Amazon box, I opened it and sighed … What a beautiful book you have written Jolanda, how brave of you to write it all down and share your stunning pieces … but more importantly your trials, and errors and processes so pragmatically recorded and explained. So, it can be done, and so now I have an excellent basis to begin and build on and then share my learnings too.
I can now think about … what of my saggar?
It needs to withstand the heat and its fluctuations going on inside and outside of it. Going traditional and making one out of a groggy clay such as a raku clay seems to be the obvious thing to do given my past time …. but then I read of using common cheap, already made terracotta unglazed plant pots. Such is my nature in being a bit impatient for results, this seemed to be the most efficient way to go. I know it is not as rustic, hobo, or romantic as making my own, but if all else fails I have some ‘more’ pots for somewhere in my garden and I lesson the risk of the saggar I’ve made ‘exploding or cracking’.
I have also seen beautiful results from wrapping pieces in aluminium foil – like you would a damper when you went ‘real’ camping as a child. The foil itself also can leave some wonderful effects. Could I use aluminium foil as a saggar in an electric kiln?
I hear the collective gasp around the world of those who would say “Nooooooooo” … but why? “Well,” the internet collective says as they shake their heads …. ‘One reason is that foil tends to melt above 720 C’ –
Who knew?
But would I need to go that high?
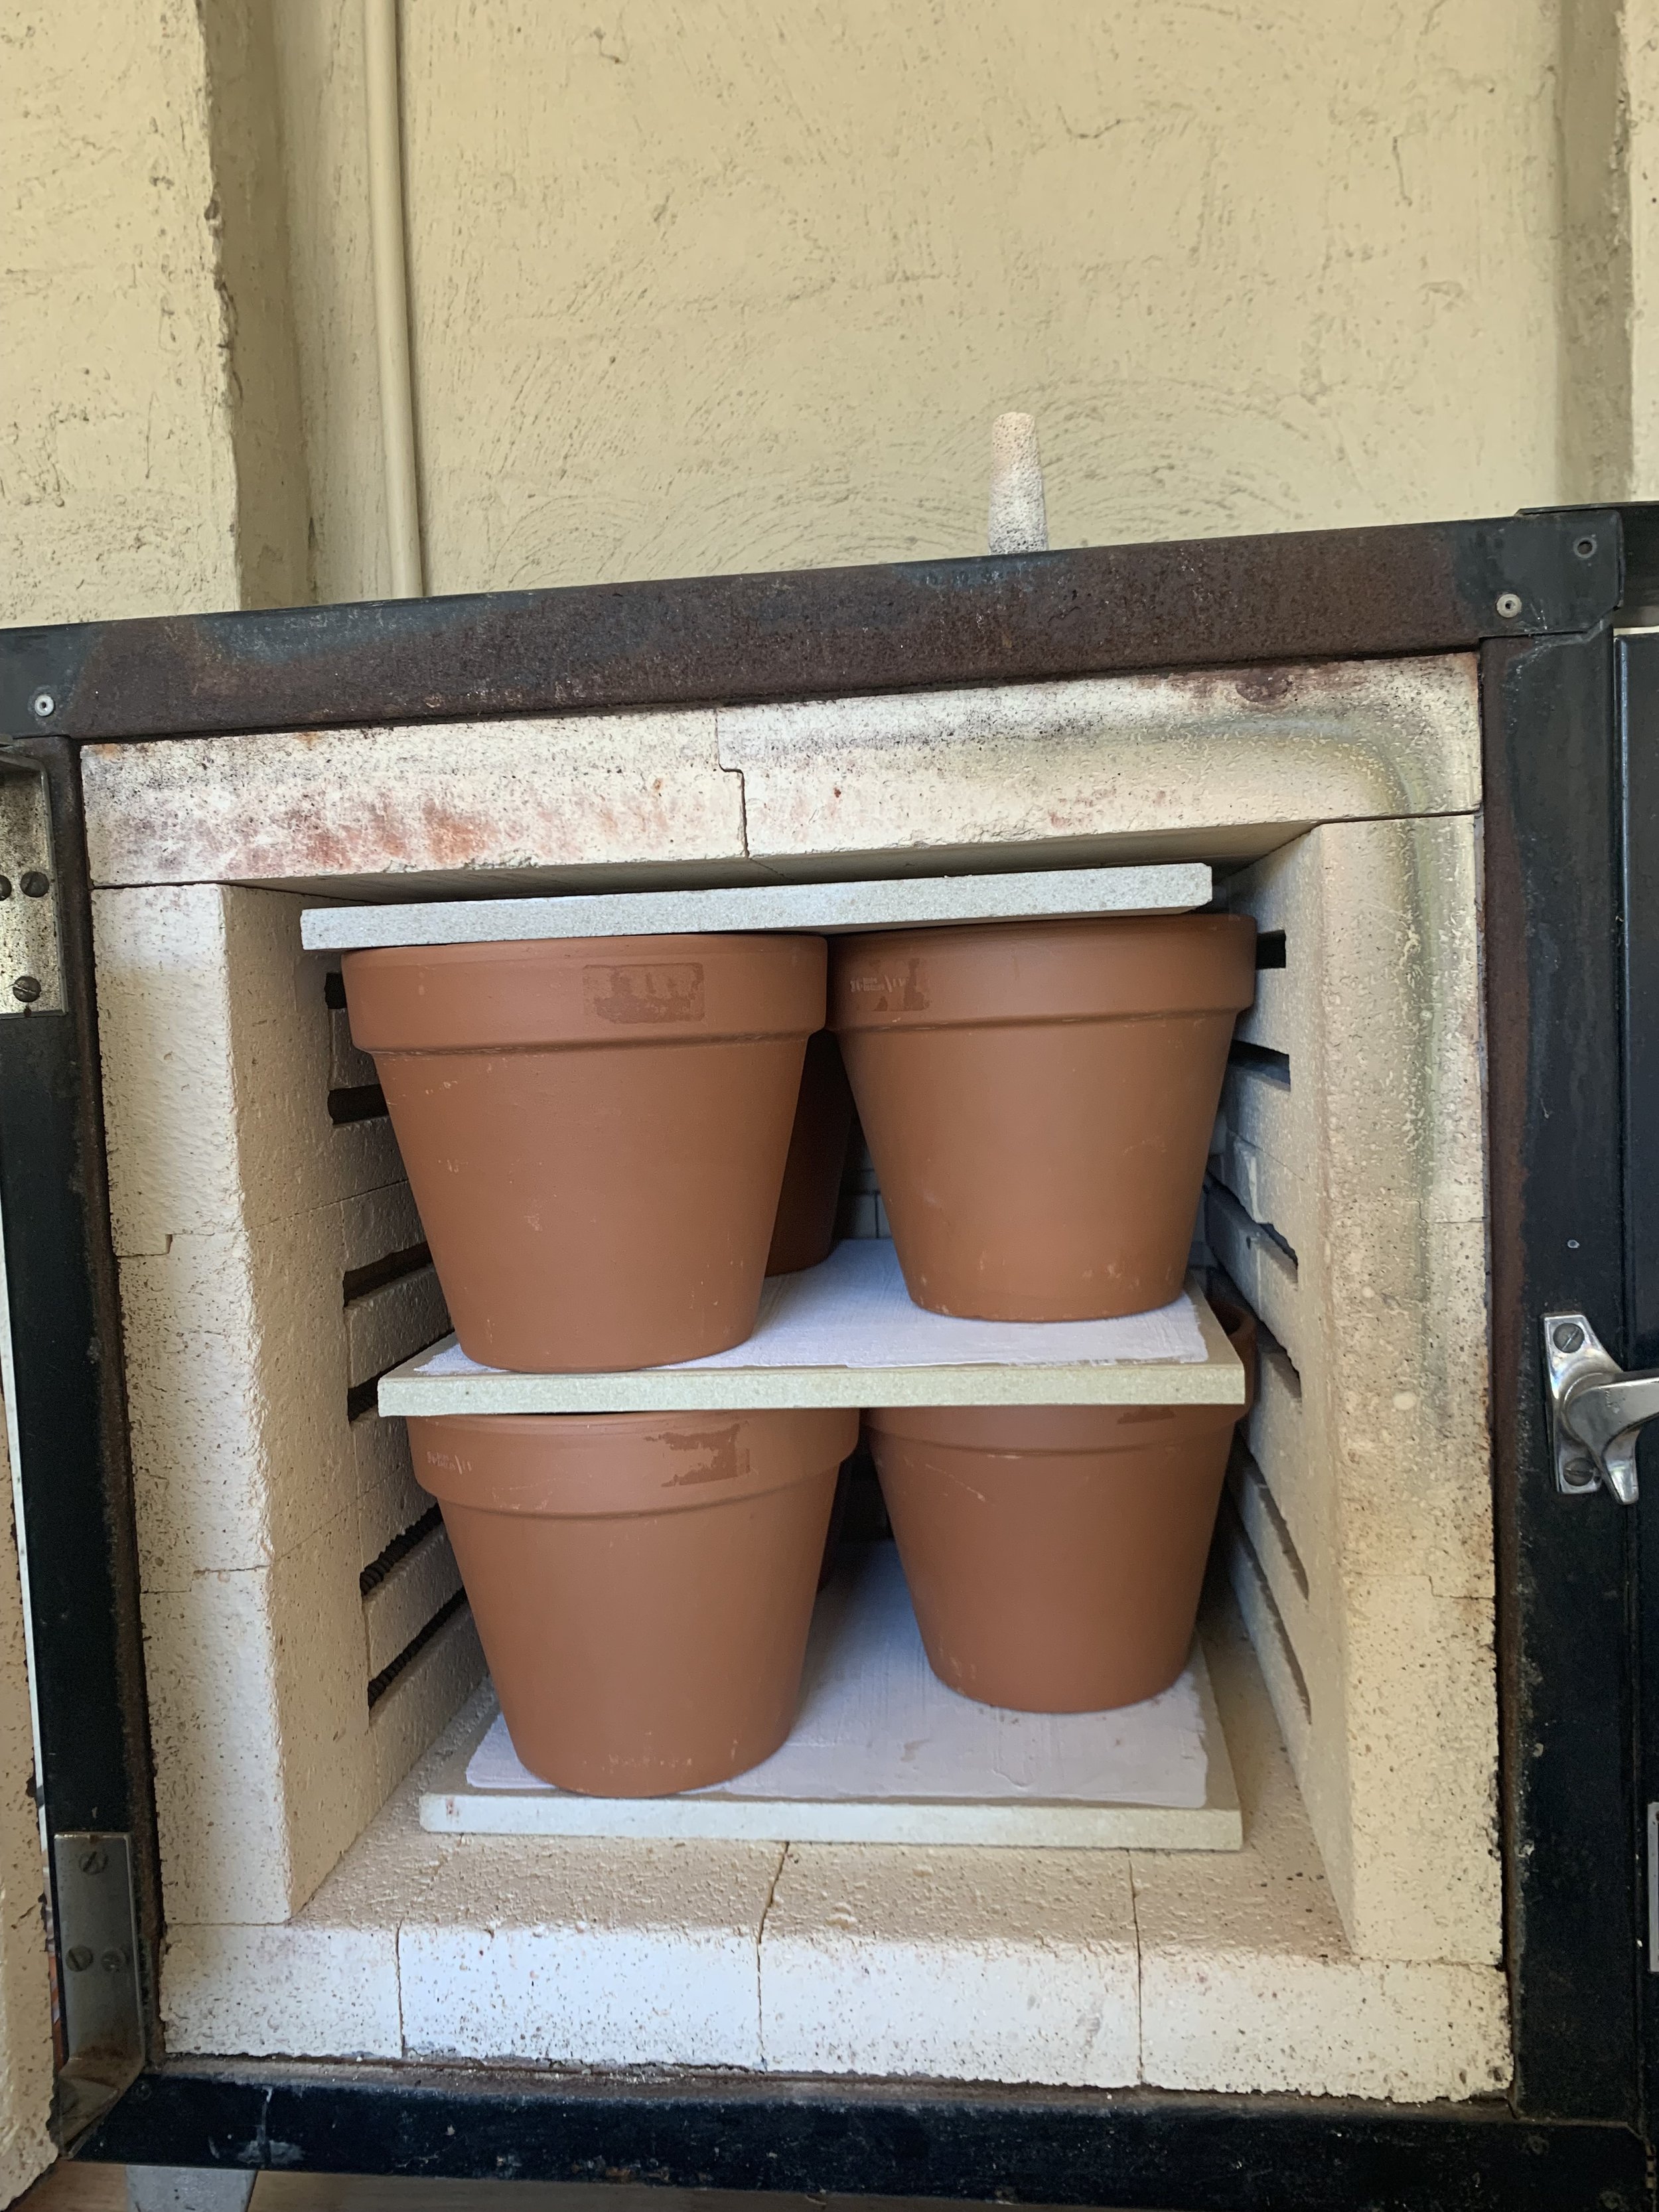
Hey …. What if I put a saggar in a saggar? A double layered saggar. An aluminium foil saggar inside a terracotta pot saggar inside an electric kiln?
At the risk of spinning into a Dr Seuss ‘Green Eggs and Ham’ quote, this was the thought in my head as I went and bought eight uniformly high 14 cm high terracotta pots. After which, and with some OCD satisfaction, stacked them perfectly two layers in my kiln using kiln shelves as a joint ‘lid’ to see it they fit. Well that works!
Now for something to put in them.
Inspired by Jolanda, I decided to make a series of small, relatively uniform vases marked with my mark and numbered so I could record what I did to each one of them. Sixteen to begin with, made from white earthenware, and a few made from red ‘school clay’ earthenware, and a couple made from my own ‘grey’ earthenware blend (which you see in a lot of my work). I wanted to see what differences there were on differing clay colours. Some had ridged texture, some smooth.
I also made some with necks and some without, focussing on round shapes as I am interested on the effects around the circumference and high and low. I also figured I might be able to ‘drape’ or wrap some materials around the necks to rest on the vase shoulder.
They are little as they needed to fit into the saggars. They are a bit cute and you can hold in the palm of your hand, so potentially quite tactile.
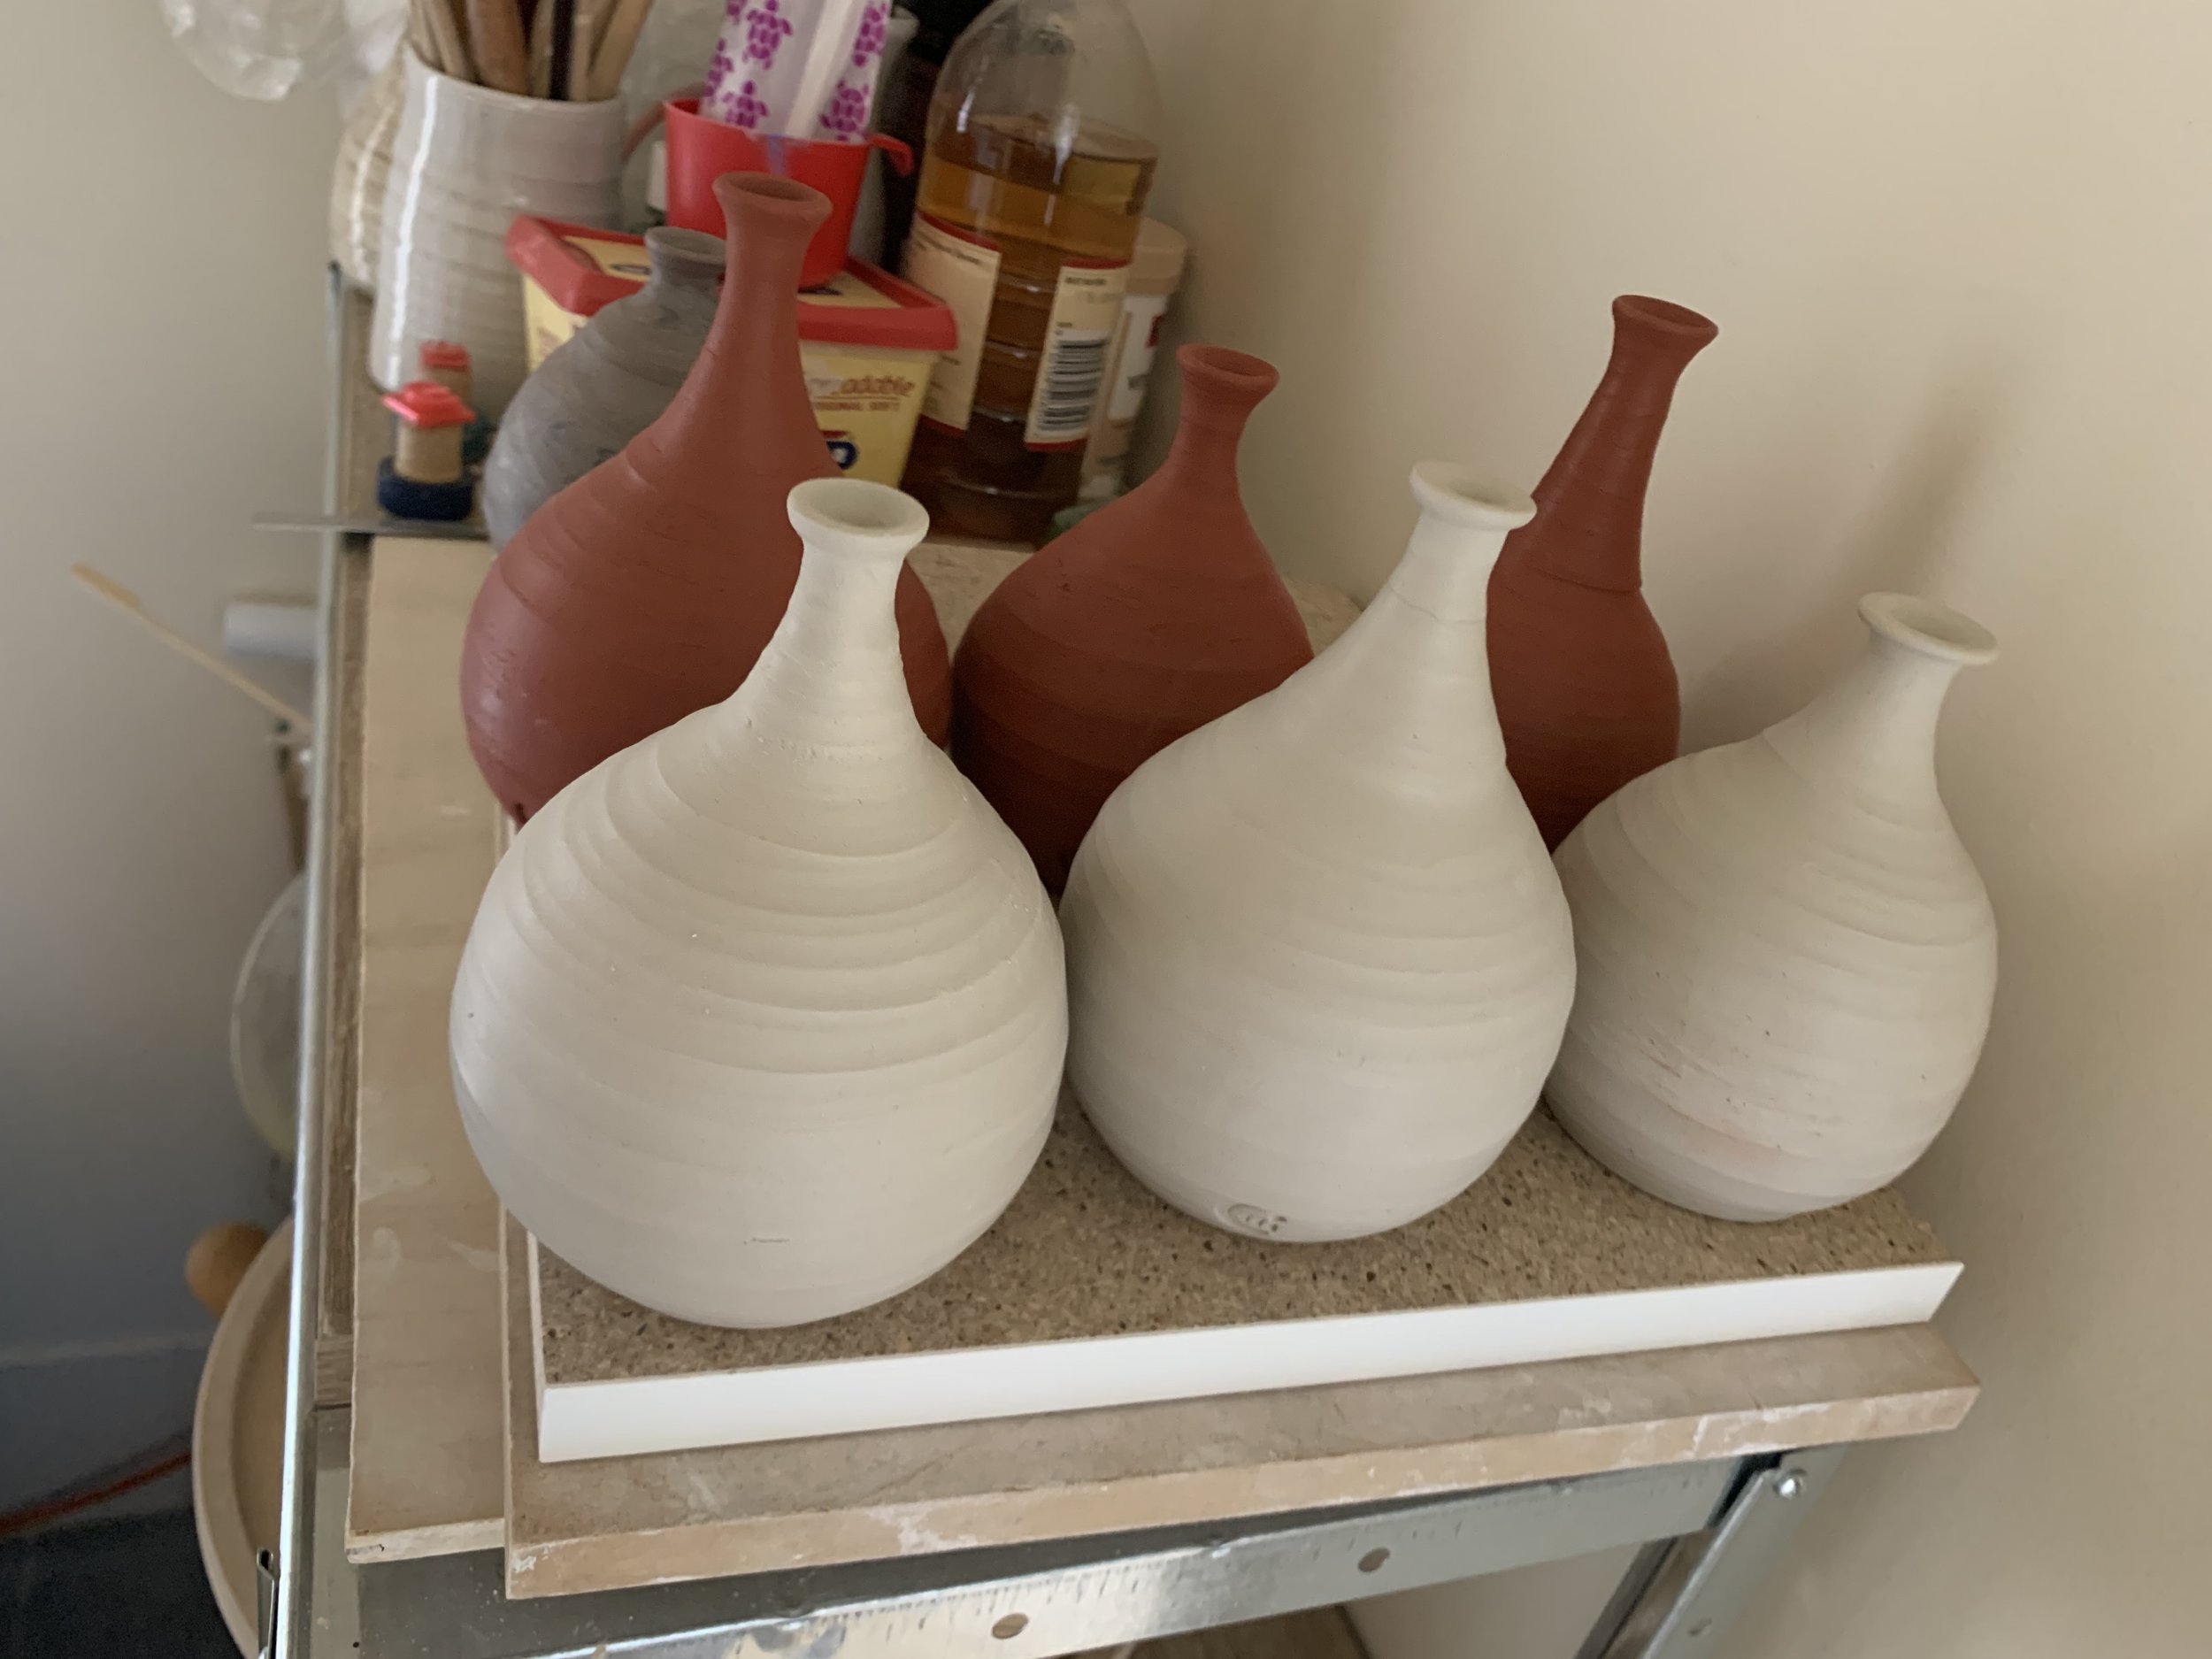
Here are some waiting for them to become bone dry … waiting so we can prepare their ‘boudoirs’.
But that is for next time where we explore the deep and fascinating world of terra ‘sigging’, and burnishing, polishing … and rubbing …
…
in the Blue Mountain early morning mist
...